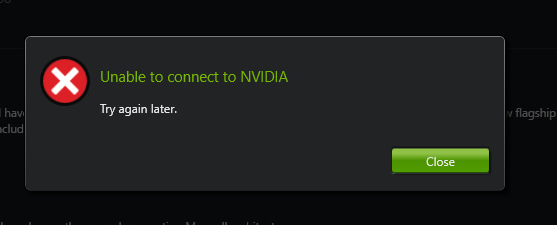
In the previous post, we have discussed about the NVIDIA Installer Failed problem. However, this time, we have a report about NVIDIA error that appears in Windows. The issue is Unable to Connect to NVIDIA error. For Windows users, especially gamers, this is quite a troublesome error because the error notification keeps showing on the screen. Due to that reason, we come up with three ways to fix Unable to connect to NVIDIA error in Windows.

Contents
Reasons of Unable to connect to NVIDIA error in Windows
Basically, GeForce Experience has the permissions to update the drivers automatically. This is the default setting in order to give the best experience and performance to the users. However, in some cases, this settings can cause problematic problems, like Unable to connect to NVIDIA error in Windows. But, it is not the only factor that causes the issue.
There are other reasons that cause Unable to connect to NVIDIA error. Let’s take a look:
- An internet connection problem
- Cannot run NVIDIA service
- There are some bugs in the recent version
- Corrupted or missing system files
- Virus/malware attacks
Those are the most possible factors that cause Unable to connect to NVIDIA error. Let’s proceed to the solutions to fix Unable to connect to NVIDIA error in Windows.
How to Fix Unable to connect to NVIDIA Error in Windows
We understand how stressful it is to have Unable to connect NVIDIA error in Windows. This will become more annoying if you don’t fix it permanently. Therefore, follow the three methods in this section to fix Unable to connect to NVIDIA error in Windows.
Method 1 – Reset NVIDIA Services
The very first thing you can do when you have NVIDIA error in Windows is reset NVIDIA services. By putting it back to the default settings, it can remove the conflict that may happen after you upgrade the Windows. Follow the steps below to resolve the issue:
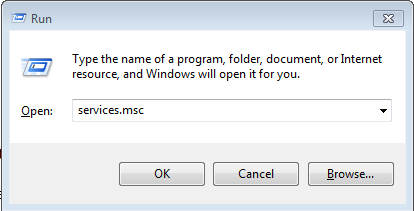
1. Hit the Windows + R keys simultaneously to open the Run dialog box. Write services.msc in it and press Enter.
2. Then, hit N key to find the NVIDIA Network Service. You may see its status is “starting” while the others are “started.”

3. Navigate to directory: C:ProgramDataNVIDIA CorporationNetService
4. Locate and erase NSManagedTasks.xml.
Note: Turn on “Show hidden folders” if you can’t find the file.
5. Press the Windows + X keys together to open Power user menu. Then, select Task Manager.

6. In the Task Manager, switch to the “Details” tab and choose “NVNetworkService.exe.” Press “End Task.”

7. Return to the “Services” window, right-click on “NVIDIA Network Service” and run it.

Now, check if you still have the NVIDIA error in your computer.
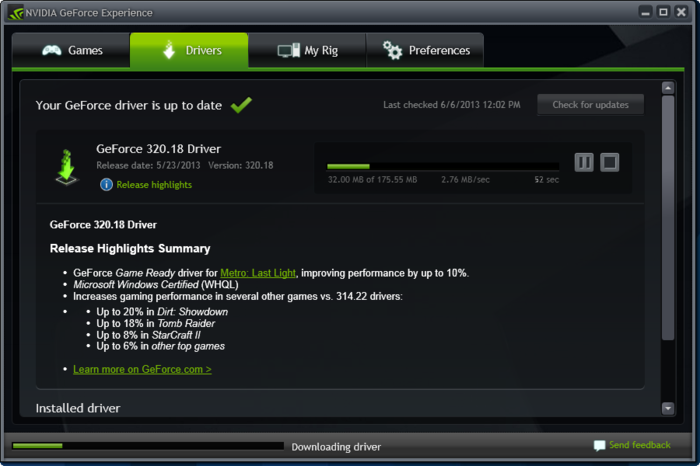
Method 2 – Update Driver
The most common reason of you having NVIDIA error is because of the outdated drivers. It can cause the Windows system fails to connect to the NVIDIA graphic card. Simply updating the driver can resolve the issue. There are two ways to update the NVIDIA drivers: manual and automatic. Let’s try the both ways.
A. Update Driver Automatically
1. Firstly, visit this link: www.geforce.com/drivers.
2. Press Download button next to Automatic Driver Updates

3. Install the application
4. Launch Automatic Driver Updates. It will detect the latest version and download and install the latest GeForce driver automatically.
If you cannot perform the automatic update driver, do it manually.
B. Update Driver Manually
1. Firstly, visit this link: www.geforce.com/drivers and search “Manual Driver Search.”
2. Find your suitable drivers, and then choose the ones that you want to download.
3. Hit the green button “AGREE AND DOWNLOAD” present there.

4. Press the Windows + R keys to launch Run dialog box. Write “devmgmt.msc” in it and press Enter. Device Manager will open.

5. Then, go to Display driver >> Graphic Card.
6. Right-click on the Graphics card and select “update driver software.”
7. Locate the driver that you have downloaded earlier. Follow the instructions on the screen to install the driver.
You will not see Unable to connect to NVIDIA error again permanently.
Method 3 – Upgrade GeForce Experience
Another reason why you face Unable to Connect to NVIDIA error in Windows is because you still use the old version of GeForce Experience. To overcome this problem, you should upgrade GeForce Experience in your computer.
1. Visit the official support website to download the latest version of GeForce Experience of NVIDIA.
2. Install the application and open it.
It looks simple, but can be one of the best solution for this NVIDIA error in Windows.
Conclusion
After performing the three methods above, we believe that you have successfully fixed Unable to connect to NVIDIA error in Windows. If the error persists after you do the methods above, you should check the hardware or contact the technician support. We hope it helps you a lot. Thank you for reading win10repair.